

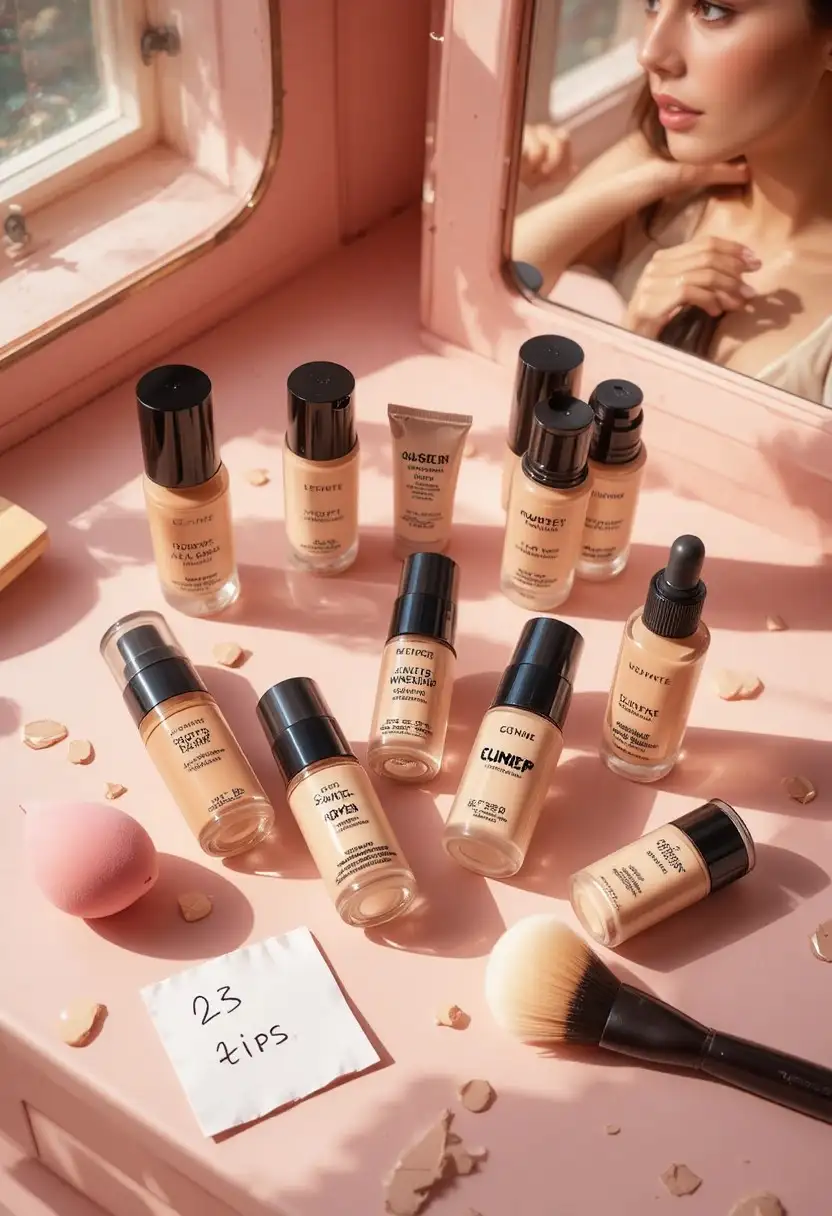
Foundation Routine: You’ve been there. You spent $52 on a foundation with a name you can barely pronounce, only to watch it separate on your T-zone by lunchtime. Meanwhile, your roommate swears by a $9 bottle from Target that’s been sitting on her shelf for three years and somehow still looks flawless every single morning.
Here’s the truth nobody in the beauty industry wants to admit out loud: your foundation routine matters infinitely more than your foundation’s price tag. The exact same $8 formula can look airbrushed on one person and cakey on another and the difference almost never comes down to the product itself. It comes down to prep, tools, technique, and a handful of small habits most people skip entirely.
This guide breaks down 23 tested, no-fluff tips that will completely transform how your drugstore foundation performs — whether you’re layering on a full-glam base or just trying to even out your skin tone before running errands. Save this one, because you’ll want to come back to it.
Prep Your Skin Before You Even Touch The Bottle
1. Never Skip The Moisturizer, Even On Oily Days
If your foundation is cracking, clinging to dry patches, or looking patchy by noon, the problem usually started before you ever opened the bottle. Hydrated skin is the single biggest factor in how smoothly foundation applies and how long it lasts. Even oily skin needs a lightweight, oil-free moisturizer skipping it just triggers your skin to overproduce oil to compensate, which makes your foundation slide around faster.
2. Let Your Moisturizer Fully Absorb First
Applying foundation over half-absorbed moisturizer is one of the fastest ways to end up with a greasy, pilling mess. Give your skin two to three minutes after moisturizing before you move to the next step. Use this time to do your brows or brush your teeth anything that keeps your hands off your face.
3. Prime With Purpose, Not Just Habit
Primer isn’t just an extra step to sell you more product the right one actually fixes a specific problem. Blurring primers soften pores and fine lines, hydrating primers plump dry patches, and mattifying primers control oil in the T-zone. Match your primer to your actual skin concern instead of grabbing whatever’s cheapest.
4. Address Redness Before Foundation, Not With It
Trying to cancel out redness using foundation alone means piling on far more product than your skin needs. A cheap green color corrector under your foundation neutralizes redness with a fraction of the product, keeping your final look sheer and natural instead of thick and cakey.
💡 Save-worthy tip: Color correctors work in whisper-thin layers a pea-sized amount goes a much longer way than most people think.
Read More:13 DIY Body Butter Recipes with Shea Butter (Easy, Luxurious & All Skin Types)
Choosing And Prepping The Right Formula

5. Match Your Undertone, Not Just Your Shade
Two foundations can be the exact same shade number and still look completely wrong on your skin if the undertone is off. Check the veins on your wrist in natural light: greenish veins usually mean warm undertones, bluish veins mean cool, and a mix of both usually means neutral. Shop your undertone first, shade second.
6. Test Foundation On Your Jawline, Not Your Hand
Your hand and your face rarely match in tone, so testing foundation there is almost guaranteed to give you the wrong shade. Swipe your top three shade candidates along your jawline instead, then step into natural daylight the shade that disappears into your neck is your match.
7. Always Wait 10 Minutes Before Judging The Shade
Many drugstore foundations oxidize as they settle into your skin, meaning the shade can shift noticeably darker or warmer within the first ten minutes. Don’t make your final shade decision in the store or right after applying give it time before deciding it’s wrong.
8. Shake Cream And Liquid Formulas Before Every Use
Pigments and oils in liquid foundation naturally separate over time, especially in bottles that have been sitting for a few weeks. A solid ten-second shake before each application keeps your formula consistent, so you’re not accidentally applying a patchy first swipe from the bottle.
9. Match Coverage To Occasion, Not Just Preference
Full coverage isn’t always the goal building the wrong amount of coverage for the wrong day is a major reason drugstore foundation looks “off.” Save your heaviest-coverage formula for events and photos, and reach for a lighter, buildable formula for everyday wear where breathability matters more.
Application Techniques That Actually Change Everything

10. Warm A Damp Sponge Before Blending
A completely dry sponge soaks up way more product than your face actually gets, which wastes foundation and creates a streaky, uneven finish. Dampen your sponge with water first and squeeze out the excess — the sponge should feel moist, not wet — before bouncing (never dragging) it across your skin.
11. Apply From The Center Of Your Face Outward
Your T-zone and cheeks typically need more coverage than your hairline and jaw, so starting product in the center and blending outward naturally creates a more even, gradual finish. Working the opposite direction tends to overload the edges of your face with product they don’t need.
12. Use A Bouncing Motion, Never A Dragging One
Dragging a brush or sponge across your face pushes foundation into fine lines, pores, and texture instead of sitting smoothly on top of the skin. A light stippling or bouncing motion presses the product in rather than smearing it around, giving you a noticeably more blurred, natural finish.
13. Apply Thin Layers And Build Slowly
The single biggest cause of cakey drugstore foundation is applying too much in one pass. Start with a thin, sheer layer over your entire face, then only add extra product to spots that genuinely need more coverage, like around the nose or under the eyes.
Save-worthy tip: Thin layers wear longer than thick ones there’s simply less product for your skin’s natural oil to break down throughout the day.
14. Mix In A Drop Of Moisturizer For A Dewier Finish
If your foundation reads a little too matte or flat for your taste, mixing a small drop of your moisturizer or facial oil directly into the foundation before applying instantly softens the finish. This trick works especially well with matte formulas in colder months when skin runs drier.
15. Use Your Fingers For Sheer, Balm-Style Formulas
Foundation balms and tinted formulas are often easiest to apply with clean fingertips, since the warmth of your hands melts the product and helps it melt seamlessly into skin. Save your sponge or brush for fuller-coverage liquid formulas where more control is needed.
16. Don’t Forget Your Neck And Ears
A perfectly blended face that abruptly stops at the jawline is one of the most common giveaways of a rushed foundation routine. Lightly blend a small amount of leftover product down your neck and around your ears so there’s no visible line where your makeup ends.
Setting, Fixing, And Extending Wear Time

17. Set Only The Areas That Actually Need It
Powdering your entire face can undo the dewy, skin-like finish that makes drugstore foundation look expensive. Instead, set only your T-zone, chin, and any oily-prone areas with a light dusting of translucent powder, leaving your cheeks and other drier areas untouched for a softer overall look.
18. Use A Setting Spray As Your Final Step, Not An Afterthought
A good setting spray does more than add shine control it melts foundation, concealer, and powder together into one cohesive layer instead of visibly separate products. Hold the bottle about eight inches from your face and mist in an X and T motion for even coverage.
19. Blot, Don’t Reapply, Midday Shine
When your foundation starts looking shiny by early afternoon, reaching for more product almost always makes things worse. Press a blotting paper onto oily areas first to lift excess oil, then follow with a light dusting of powder only if needed — this keeps your base looking fresh instead of thick.
20. Fix Foundation Mistakes With A Damp Sponge, Not More Product
Applied too much foundation in one spot? Don’t panic and don’t add powder on top. Press a clean damp sponge over the area to lift and blend away the excess this trick saves a patchy application in seconds without starting over.
21. Keep A Travel-Size Version In Your Bag For Touch-Ups
Full reapplication throughout the day almost always looks heavier and less natural than a quick, targeted touch-up. Decant a small amount of your foundation into a travel container so you can spot-correct problem areas without redoing your entire base.
Building Habits For The Long Run
22. Rotate Your Foundation With The Seasons
Skin behaves differently in summer heat and humidity than it does in dry winter air, and a formula that felt perfect in July can feel completely wrong by January. Keep a lightweight, oil-controlling formula for warmer months and a more hydrating one for colder months instead of forcing one bottle to do both jobs year-round.
23. Clean Your Tools Weekly For A Smoother Application
A sponge or brush loaded with old, oxidized product will never apply foundation as smoothly as a clean one, no matter how good your technique is. Washing your beauty sponge and foundation brush once a week keeps your application streak-free and helps your foundation blend the way it’s meant to.
Frequently Asked Questions
How often should I replace my drugstore foundation?
Most liquid foundations last about 12 months once opened, though formulas with natural or skincare-based ingredients may have a shorter shelf life. If the texture separates permanently even after shaking, or the smell changes, it’s time to replace it.
Why does my drugstore foundation look cakey by the afternoon?
This is almost always caused by applying too much product upfront, skipping proper skin prep, or over-powdering. Thin layers, a well-hydrated base, and targeted powder placement fix this in most cases.
Can I mix two drugstore foundation shades together?
Yes, and it’s a great trick for matching a shade that shifts with seasonal tanning. Just make sure to mix them fresh each time in your palm rather than storing a pre-mixed batch, since separate formulas can behave differently over time.
Do I need a primer for drugstore foundation to look good?
Not always, but it helps with specific concerns like large pores, oiliness, or dryness. If your skin is already well-balanced and hydrated, a good skincare routine alone can sometimes be enough.
Final Thoughts
A flawless base has never actually required an expensive foundation it requires the right routine. Once you dial in your skin prep, undertone matching, thin-layer application, and smart setting technique, a $10 drugstore foundation can genuinely outperform a $60 one. Bookmark this list, try a few tips at a time, and watch your everyday base transform without spending a cent more on product.