


Glass Skin Aesthetic Routine You know that skin. The kind that looks like it’s lit from underneath, not on top of. No visible pores, no cakey product, just smooth, hydrated, light-bouncing skin that makes people ask what you do.
Here’s the part nobody tells you: glass skin isn’t a genetic lottery win. It’s not even really about buying more products. It’s a sequence thirteen small, specific steps done in the right order, every single day, until your skin barrier is healthy enough to reflect light instead of absorbing it dully. Miss the order, and you can spend $300 on serums and still get nothing.
This is the full 13-step glass skin aesthetic routine, built for the clean girl era where the goal isn’t a ten-layer K-beauty production, it’s skin so genuinely healthy it barely needs makeup at all. Save this now, because you’ll want to come back to it every morning until it’s muscle memory.
What Glass Skin Actually Means (And Why “13 Steps” Isn’t Overkill)

Glass skin is a Korean beauty concept describing skin that’s so smooth, clear, and deeply hydrated it reflects light like a pane of glass no visible texture, no patchiness, just an even, dewy glow. It’s less a “look” and more a skin state, which means it’s buildable no matter your starting point or skin tone.
Here’s the thing: most 10-step routines skip the parts that actually move the needle sun protection consistency, sleep, and the small habits that determine whether your barrier can hold onto all that hydration you’re layering on. This 13-step version closes those gaps.
Before You Start: The 3 Non-Negotiables
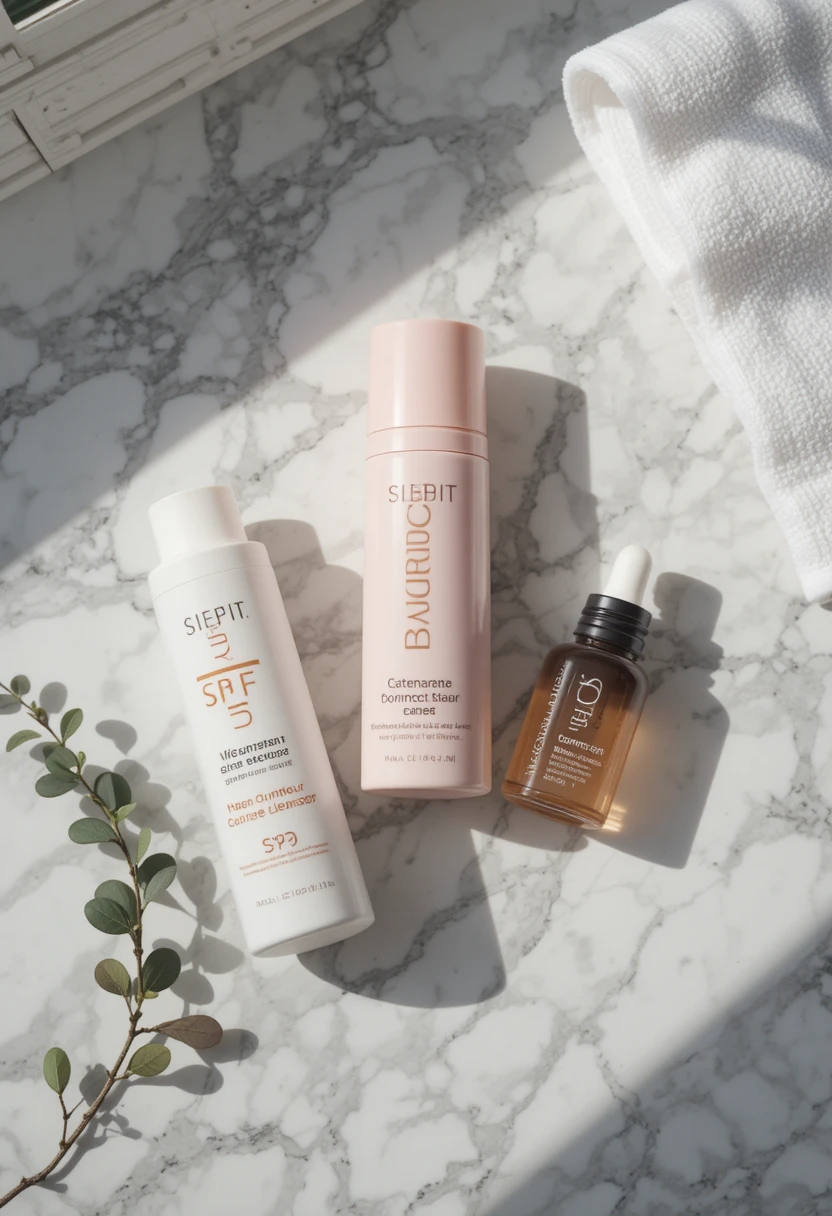
- Consistency beats intensity. A simple 13-step routine done daily beats an elaborate one done twice a week.
- Hydration first, actives second. Glass skin is built on moisture, not on stacking every acid you own.
- Your barrier is the whole game. If your skin is irritated or over-exfoliated, no amount of glazing fluid will make it look glassy it’ll look inflamed.
Reed also: 19 Foods for Glowing Skin Diet: The Ultimate Nutrition Guide for Radiant, Healthy Skin
The 12-Step Glass Skin Routine
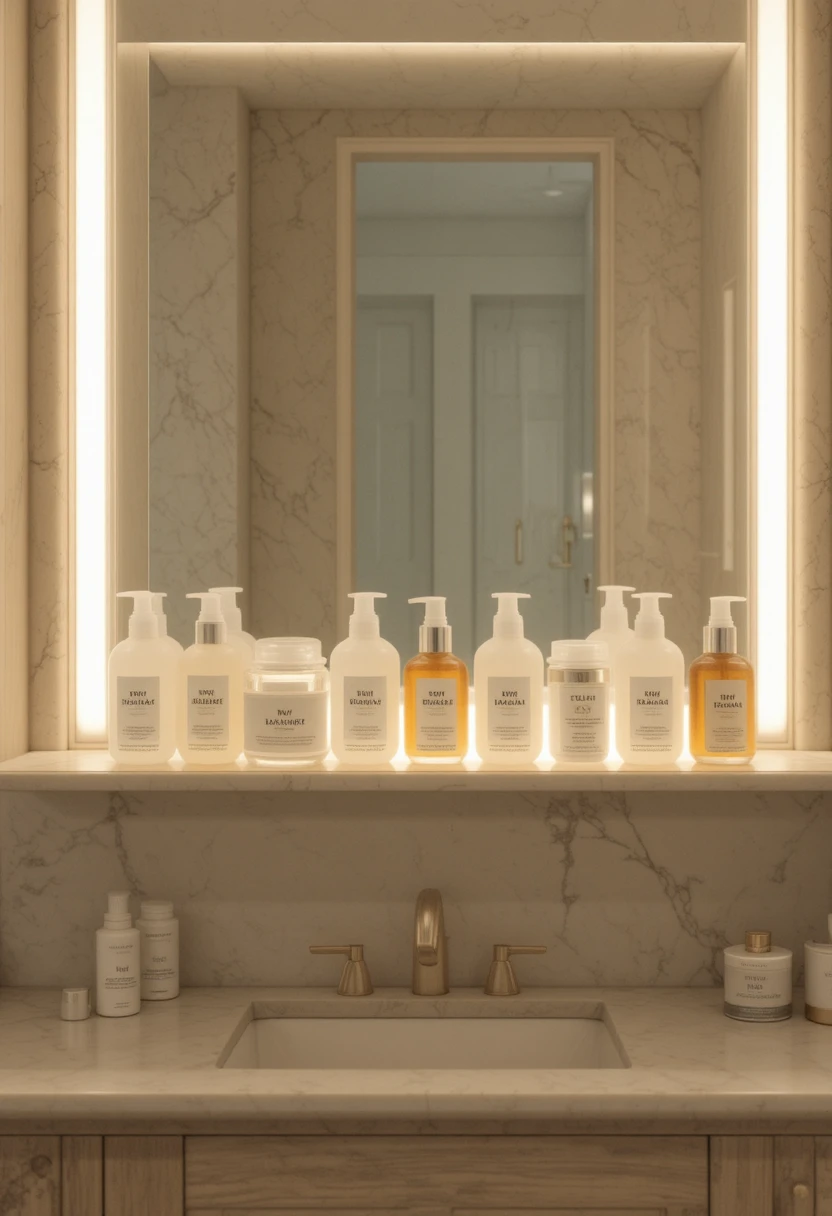
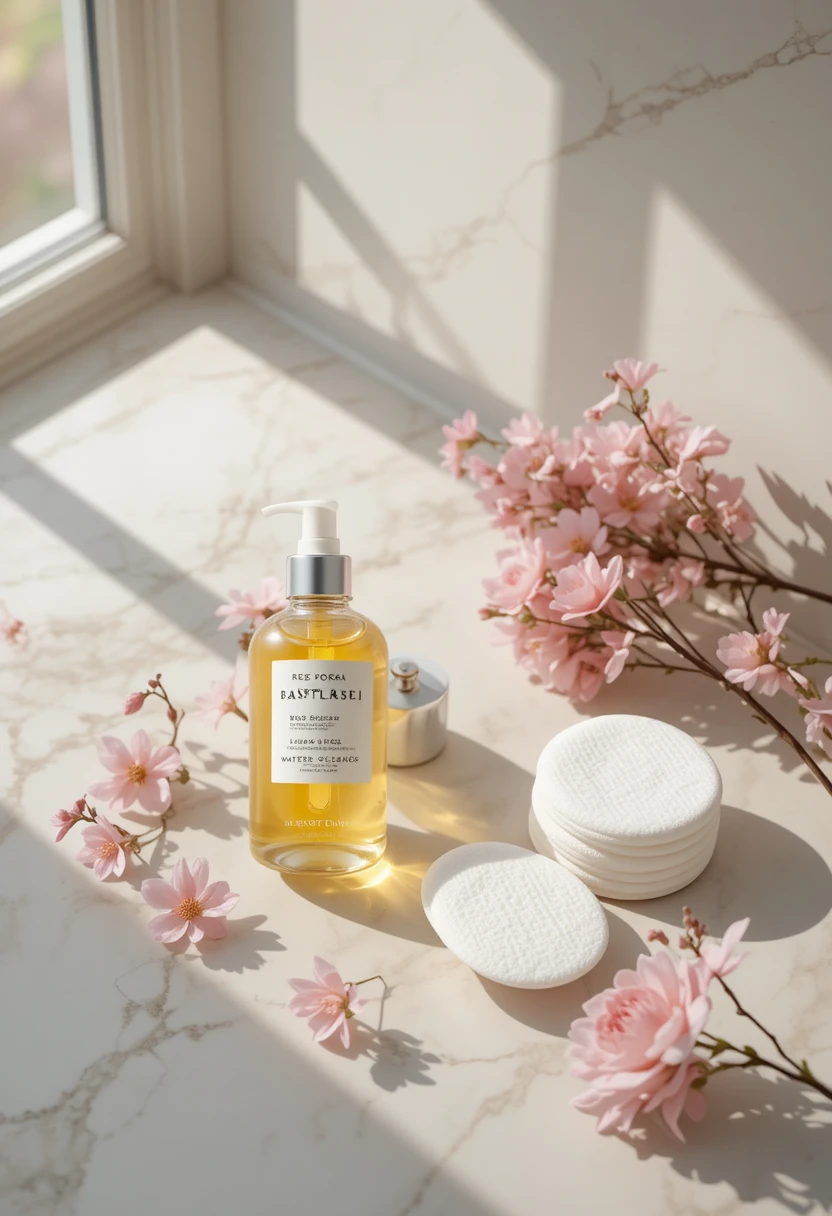
Start every evening with an oil-based cleanser massaged into dry skin for 60 seconds. This dissolves sunscreen, sebum, and makeup without stripping your skin raw. Skip this step and everything you apply afterward is sitting on top of yesterday’s residue not absorbing the way it should.
Step 2: Follow With a Water-Based Cleanser
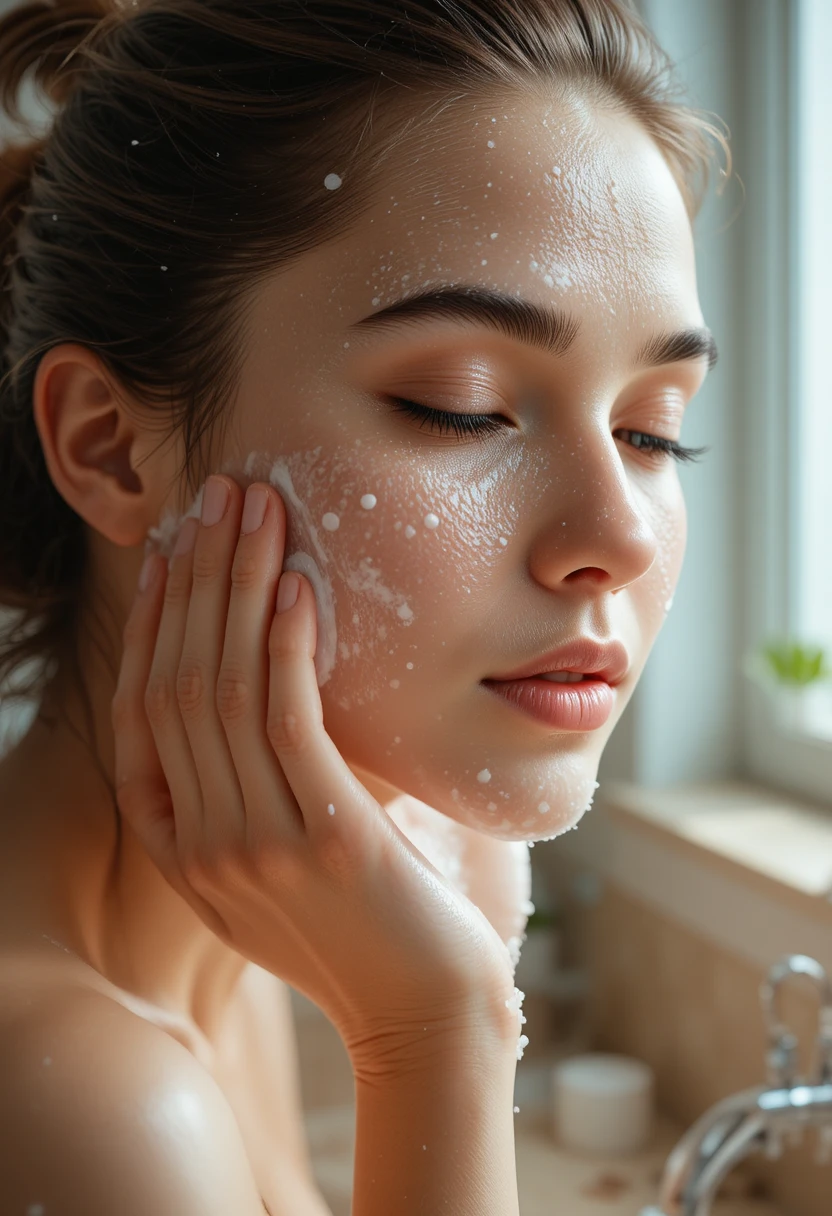
Double cleansing is the backbone of the entire glass skin philosophy. A gentle, low-pH gel or foam cleanser removes what the oil cleanser left behind, without disrupting your skin barrier. This is a nightly step; in the morning, one gentle cleanse is usually enough.
Step 3: Exfoliate But Only 2-3 Times a Week
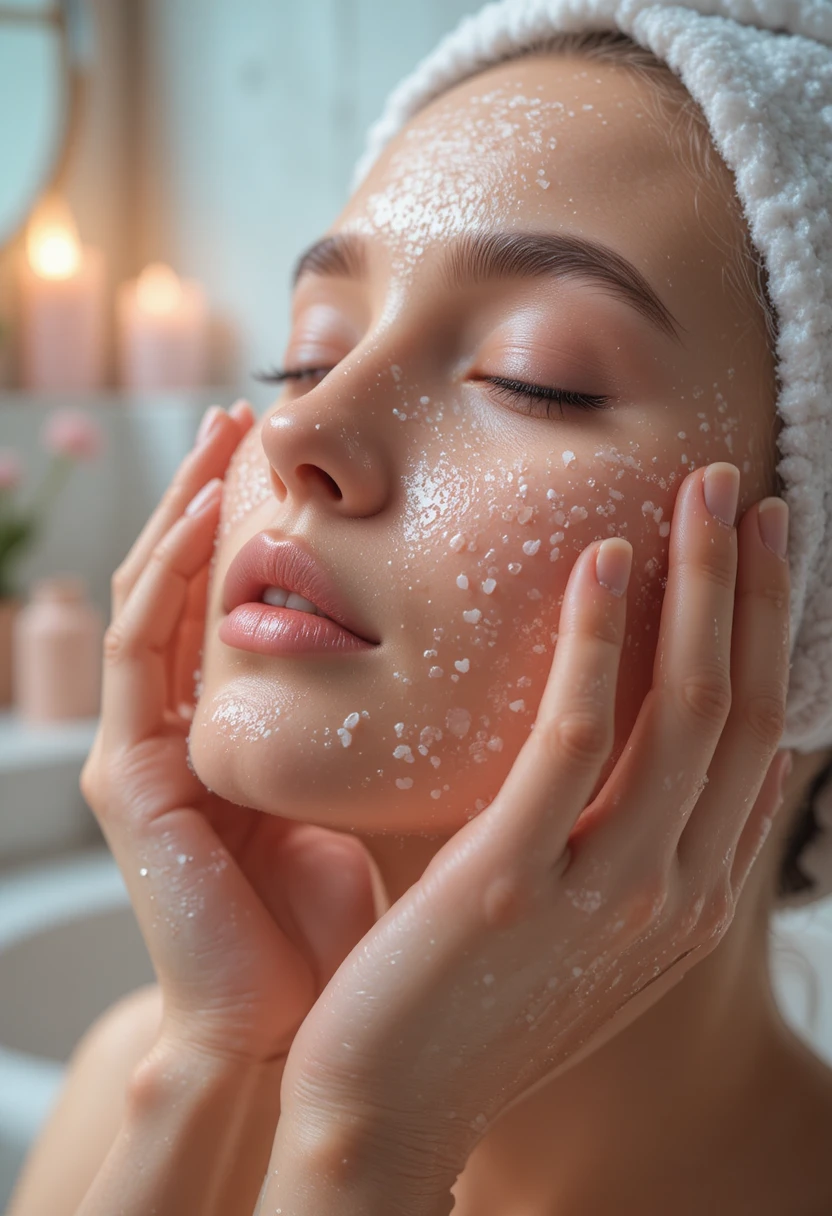
Gentle chemical exfoliation (a mild AHA or PHA) sloughs off dead skin cells that make skin look dull and rough. This is where most people overdo it. Over-exfoliating is the single fastest way to sabotage glass skin it damages the barrier you’re trying so hard to protect.
Step 4: Tone to Rebalance and Prep
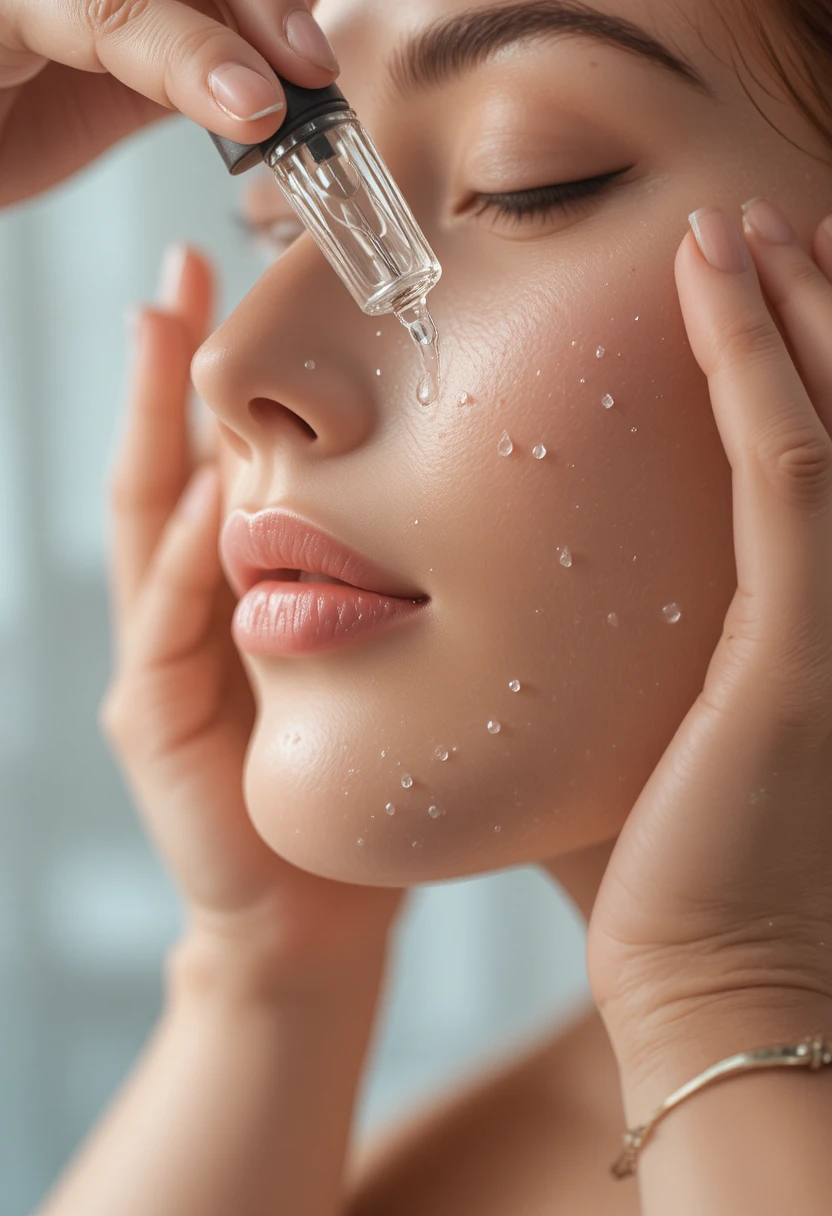
A hydrating toner with hyaluronic acid, beta-glucan, or centella asiatica preps your skin to actually absorb everything that comes next. This is where the famous “7 Skin Method” comes in patting toner into skin in five to seven thin layers instead of one. It sounds excessive. It’s the closest thing to a glass-skin shortcut that actually exists.
Step 5: Layer an Essence
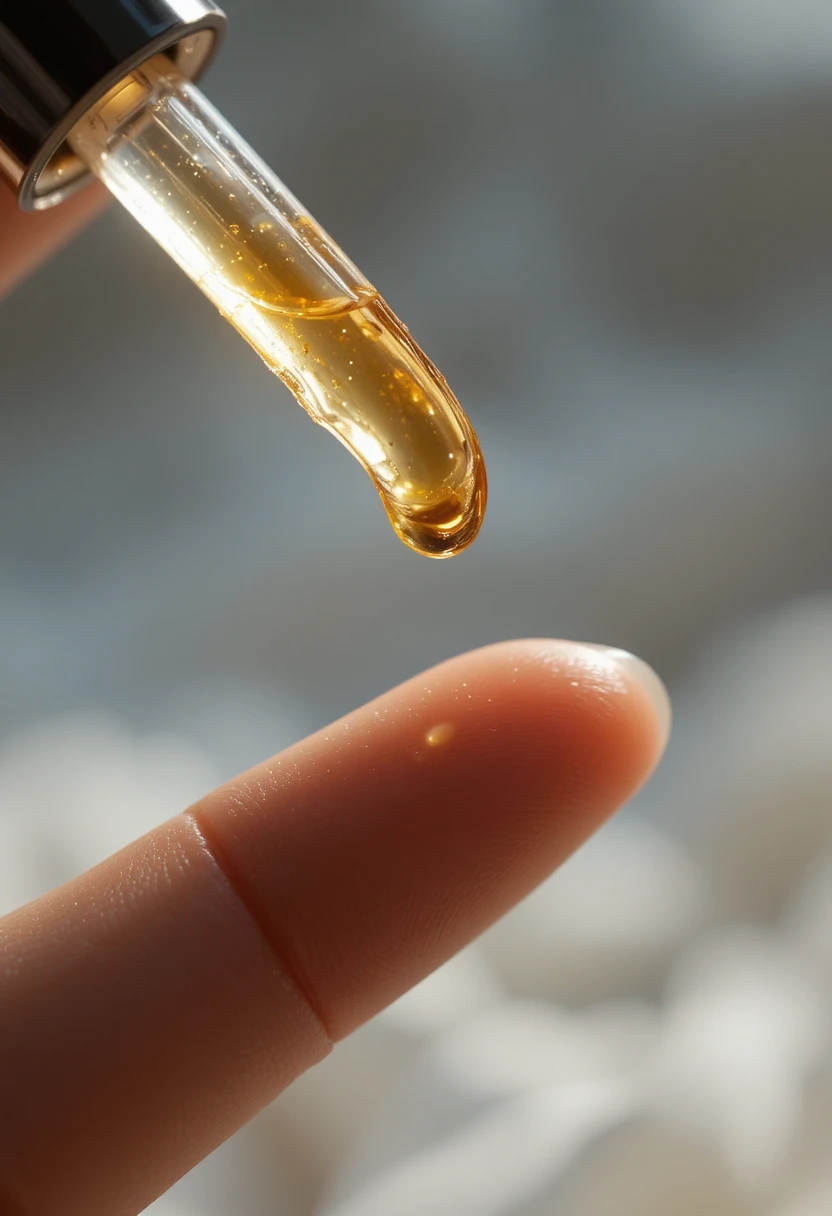
Essence sits between toner and serum lighter than a serum, but packed with fermented or hydrating ingredients that plump skin from within. Pat it in with your palms rather than rubbing. This is the step most Western routines skip entirely, and it’s exactly why their skin never gets that bouncy, jelly-like texture.
Step 6: Apply a Targeted Serum
This is where you address your specific concerns brightening with vitamin C, hydration with hyaluronic acid, or tone-evening with niacinamide. Use one to two serums max, applied thinnest-to-thickest. More serums isn’t more glow it’s more irritation risk.
Step 7: Sheet Mask 2-3 Times a Week
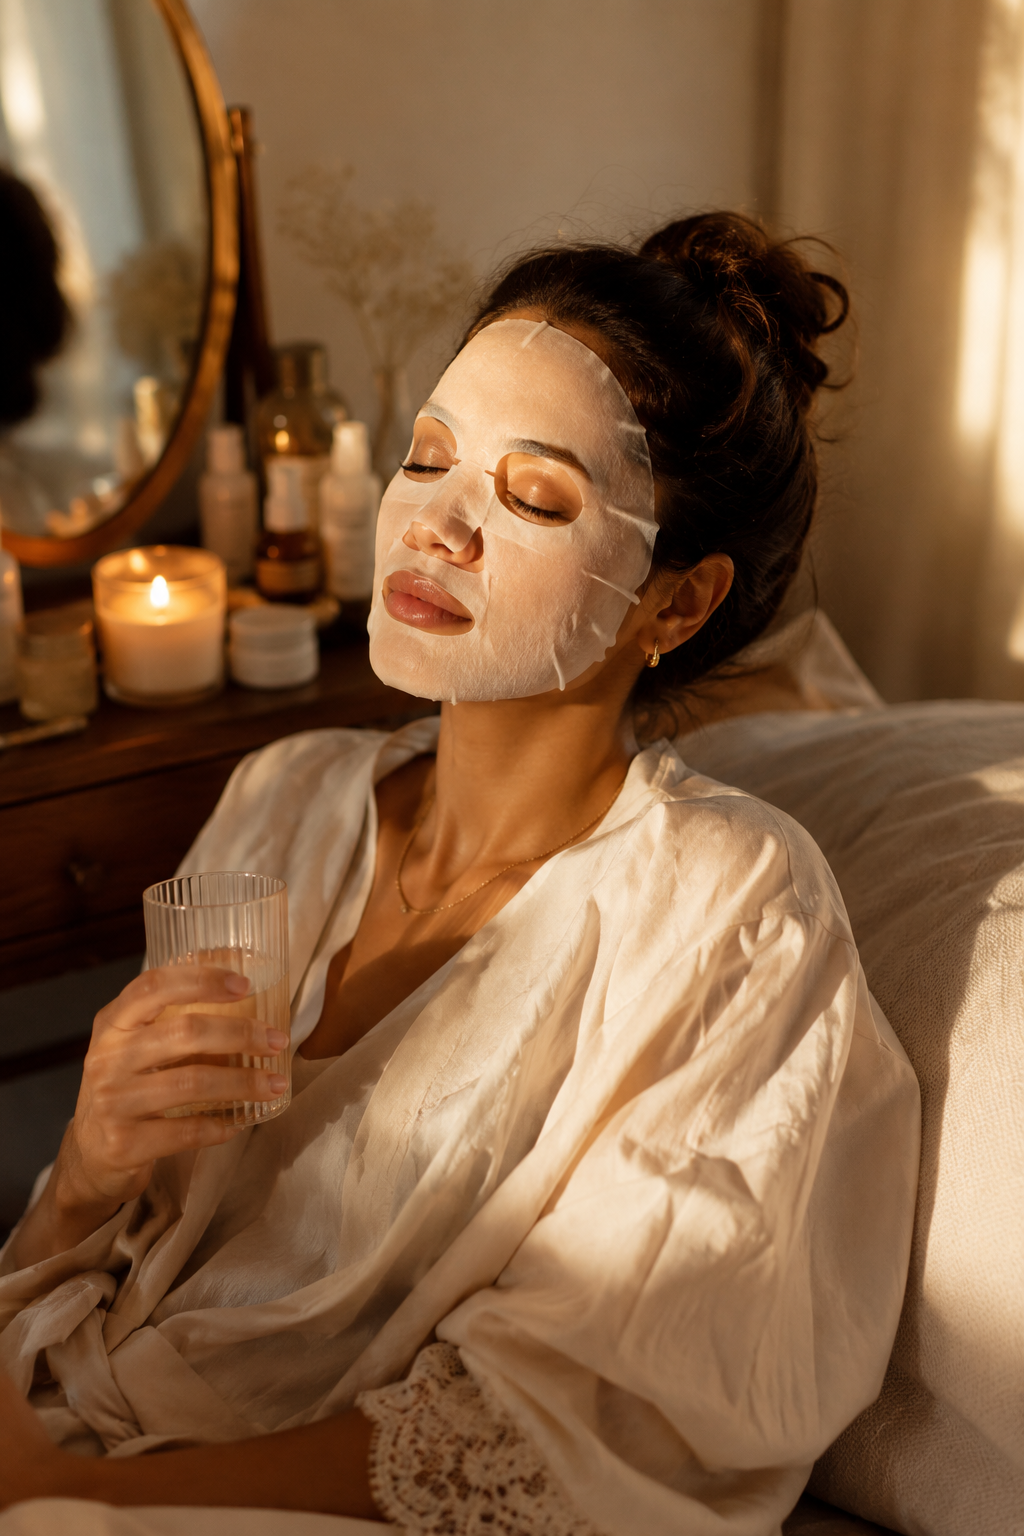
A hydrating sheet mask left on for 15-20 minutes delivers a concentrated hit of moisture straight into the skin. Don’t rinse off the leftover essence afterward pat it in. This is one of the most satisfying, genuinely visible steps in the entire routine, and it’s exactly the kind of before/after moment worth saving for
Step 8: Eye Cream, Every Time
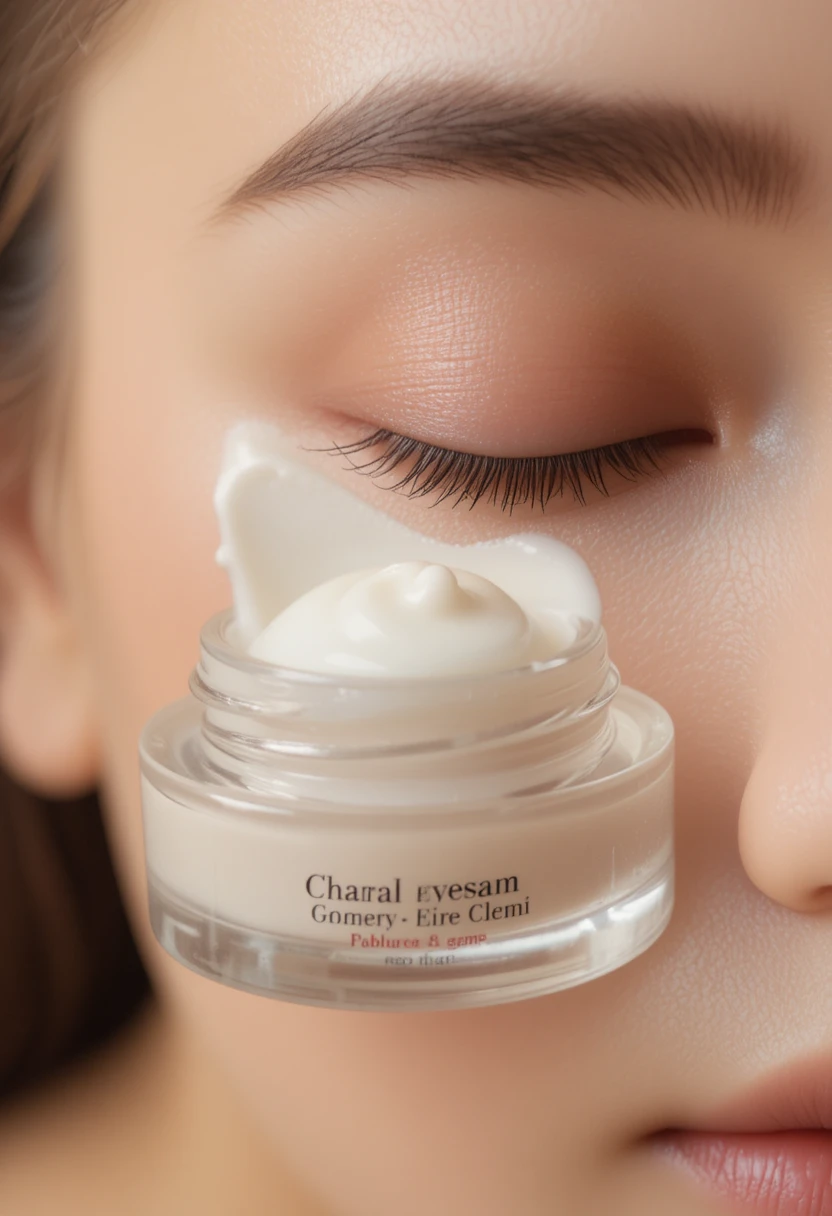
Before you seal everything in, address any active breakouts or dark spots with a targeted treatment think salicylic acid for blemishes or a brightening spot treatment for hyperpigmentation. Apply this after serums, before moisturizer.
Step 9: Moisturize to Seal Everything In
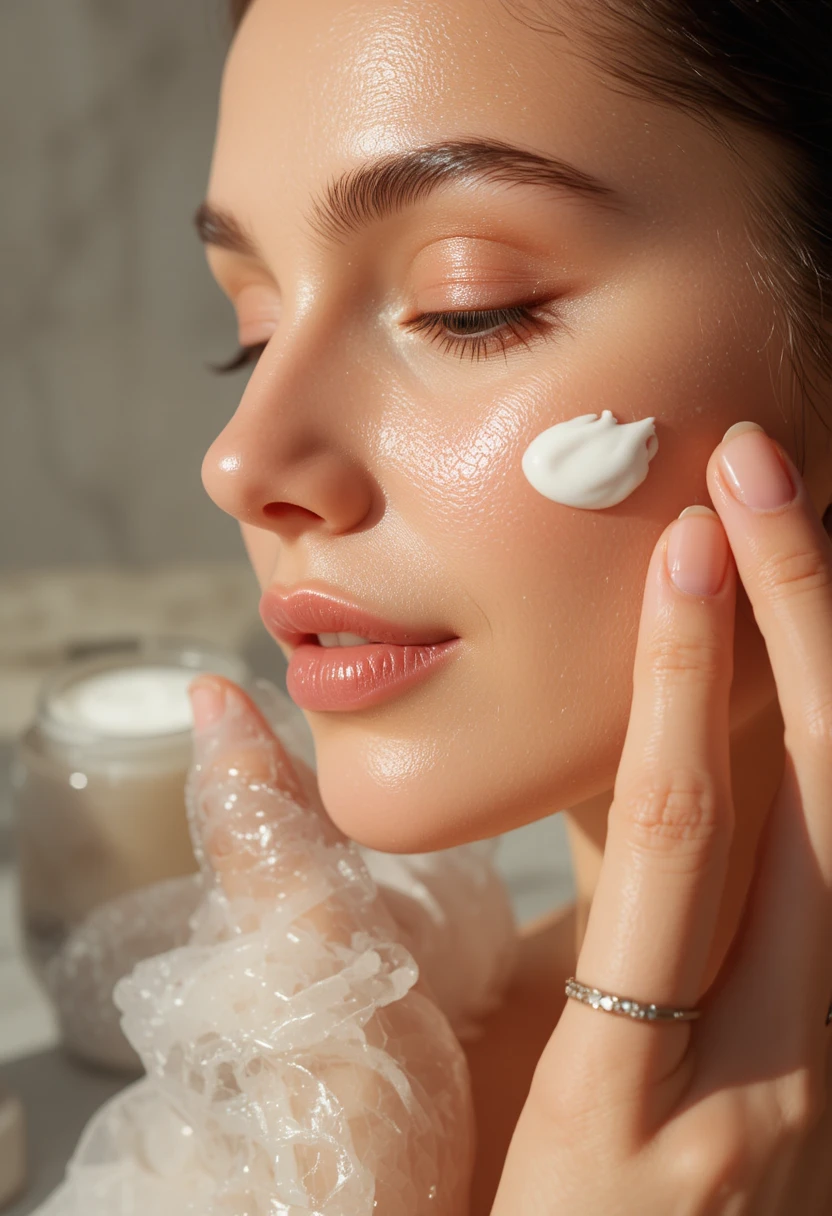
This is the step that locks in every layer you just built. Gel-based formulas work best for oily skin; richer creams suit dry skin. Don’t skip moisturizer because your skin feels oily under-moisturized skin often overproduces oil to compensate, which works against everything you just did.
Step 10: Face Oil for Extra Dimension (2-3x/Week)
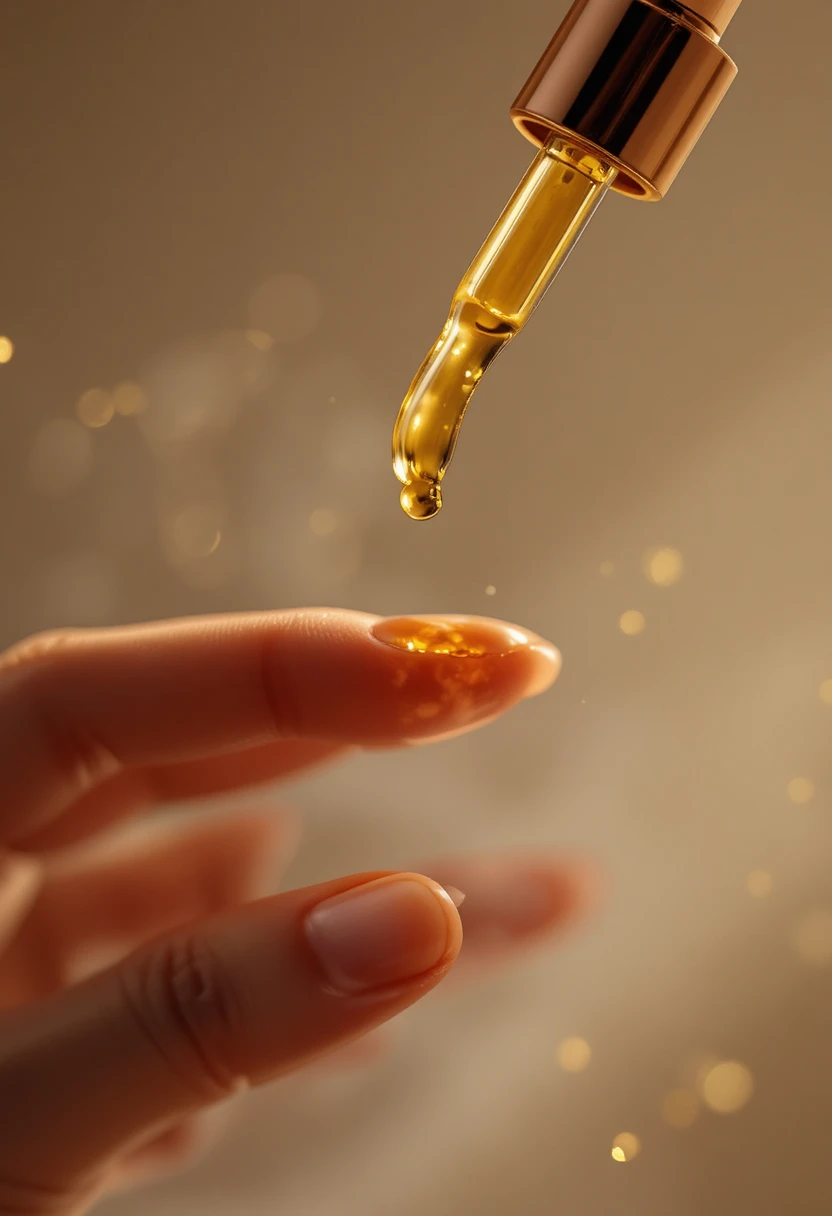
A few drops of a lightweight facial oil, pressed on as the very last step of your evening routine, adds that final glassy sheen. This isn’t a daily step for most skin types, but a couple of times a week it makes a genuinely visible difference in radiance.
Step 11: SPF, Non-Negotiable, Every Single Morning
Here’s a hard truth: glass skin without daily SPF fades. UV exposure is the single biggest driver of uneven tone, hyperpigmentation, and rough texture the exact opposite of what you’re building. A lightweight, invisible-finish sunscreen applied every morning, rain or shine, is what actually makes the other twelve steps last.
Step 12: Support It From the Inside

Glass skin doesn’t stop at your skincare shelf. Three habits do more heavy lifting than people expect:
- Sleep 7-8 hours skin cell turnover peaks between 11pm and 4am, which is when your skin repairs the damage from the day.
- Hydrate consistently your routine can trap moisture, but it can’t create it out of nowhere.
- Switch to a silk or satin pillowcase rough cotton creates overnight friction that quietly undoes your barrier work.
This is the step every 10-step routine leaves out, and it’s often the difference between skin that looks good and skin that looks glass.
How the Clean Girl Aesthetic Fits Into This

The clean girl look was never really about makeup it’s a skin-first philosophy where minimal, well-applied product only works on genuinely hydrated, healthy skin. You can’t shortcut this with concealer. That’s exactly why this 13-step routine and the clean girl aesthetic are the same project: build the skin, and the “no-makeup makeup” part takes care of itself.
Common Glass Skin Mistakes to Avoid
- Layering too many actives at once retinol, vitamin C, and multiple acids in the same routine is a barrier disaster, not a glow strategy.
- Skipping SPF because it’s cloudy UV damage doesn’t take days off.
- Rubbing instead of patting friction disrupts your barrier; patting products in preserves it.
- Expecting overnight results most people see a genuine shift in texture and glow within 3-4 weeks of consistency, not three days.
Frequently Asked Questions
Does glass skin work for acne-prone or oily skin?
Yes a glass skin routine built around gentle, non-comedogenic, hydration-first products is achievable for every skin type. Focus on barrier repair before adding actives.
Can I use retinol with this routine?
Yes. Layer retinol before moisturizer on nights you use it, and consider alternating with vitamin C rather than using both together.
Is glass skin achievable on darker skin tones?
Absolutely. Glass skin is about luminosity and hydration, not lightening the dewy, reflective finish shows beautifully across every skin tone.
Do I really need all 13 steps every day?
No steps 1-2, 4, 6, 10, and 12 are your daily core. Exfoliation, masking, and face oil are only needed 2-3 times a week.
How long until I see results?
Most people notice a visible shift in texture and glow within 3-4 weeks of daily consistency.
The Bottom Line
Glass skin isn’t magic, and it isn’t genetics it’s thirteen small, repeatable decisions, done in the right order, day after day. Start with the core steps tonight, build up gradually, and give it a full month before judging results. Pin this guide now so you always have the full sequence on hand when your routine needs a refresh.